
PC Building Checklist: What to Check Before You Buy
Avoid common PC building mistakes with a checklist for CPU and motherboard support, RAM, GPU clearance, power supply cables, cooling and first boot.
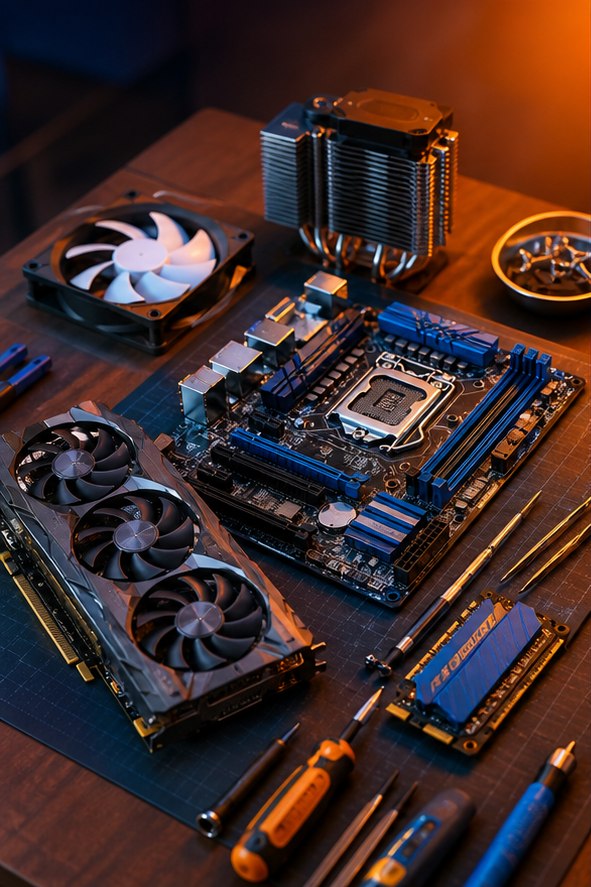
A successful PC build starts before you open the boxes. Compatibility, physical clearance and the parts you forget to budget for can matter more than a small performance upgrade. Use this checklist while planning your purchase, then again before the first boot.
Set a complete budget around the job
Write a one-sentence target, such as “edit my weekly videos and learn programming” or “play my preferred games at my monitor’s native resolution.” List the applications or games you will actually use. This makes trade-offs easier when a graphics card upgrade competes with memory, storage or a better monitor.
Budget for the whole setup: case, fans, cooler, Wi-Fi if needed, monitor, keyboard, operating-system licence if required, and backup storage. Keep room for shipping or an adapter. Avoid spending the last of the budget on a processor while leaving no way to back up your work.
Check compatibility by exact model
| Check | What to verify | Where to look |
|---|---|---|
| CPU and motherboard | Socket, supported processor model and required BIOS version | Board maker’s CPU support list for the exact revision |
| Memory | DDR generation, capacity limits and recommended kit configuration | Manual and memory compatibility list |
| Case and motherboard | Supported board form factor and matching mounting positions | Case specifications and installation manual |
| GPU and case | Length, thickness, cable space and remaining clearance with front fans or radiator | Dimensions from both manufacturers |
| Cooler | Socket mounting kit, height, RAM clearance or radiator fit | Cooler and case compatibility notes |
| Storage | M.2 length, SATA versus NVMe support and any shared lanes or disabled ports | Motherboard storage configuration table |
A matching socket alone does not prove that a CPU will boot. Ask the retailer which BIOS is installed if the processor requires a newer version. If an update is needed before the CPU works, check whether that board can update without a supported CPU installed.
A memory compatibility list records tested kits; it is useful evidence, not a complete list of every kit that could work. Buying one matched kit is generally easier to validate than combining separate kits with similar labels.
Choose the power supply and cables together
Use the component makers’ power guidance as a starting point, then consider the complete system, connectors and plausible future upgrades. The wattage printed on the box does not describe every aspect of quality. An efficiency rating also does not establish protection quality, noise or long-term reliability.
Only use modular power cables explicitly compatible with the exact PSU. A connector that fits can still have incompatible wiring at the power-supply end. Consult the manufacturer’s cable compatibility information; do not transfer an old set simply because it looks identical.
Check all required GPU connectors, plug seating and cable bend clearance against the GPU and PSU instructions. CPU EPS and GPU power leads are not interchangeable. Never open the power supply enclosure.
Catch the easy-to-miss assembly mistakes
- Work on a clean, dry surface and follow the makers’ electrostatic-discharge precautions. Unplug power during assembly.
- Install motherboard standoffs only where the board has matching mounting holes.
- Remove any protective cover from the cooler’s contact surface. Follow its thermal-paste instructions.
- Use the manual’s recommended RAM slots and connect the CPU cooler fan or pump correctly.
- Check front-panel headers against the diagram; do not guess from another board’s layout.
- Keep loose screws and cables away from circuitry and fan blades.
- Check lighting headers: 5 V ARGB and 12 V RGB are different systems.
Plan cable routing before fitting a large cooler or radiator. A few minutes checking access can save removing several parts later. Follow our step-by-step assembly guide for the installation sequence.
Make the first boot a controlled check
Connect the monitor to the dedicated graphics card when you have one. Motherboard display outputs need a processor with supported integrated graphics. Check the monitor input as well as the cable.
Start with default firmware settings. Allow for the board’s documented memory-training process, then check that CPU, memory and storage are detected. Investigate abnormal temperatures before starting a heavy workload. Install the operating system and official drivers, then try your normal applications before changing performance settings.
XMP and EXPO profiles are overclocking settings, so stability is not guaranteed for every configuration. Establish a working baseline first. Keep the part list, invoices and downloaded manuals together for future troubleshooting.
Frequently asked questions
Should I update the BIOS before building?
Check whether your CPU needs a newer BIOS and follow the exact board’s supported update method. Do not flash an unrelated model’s file or interrupt an update.
How much cooling is enough?
It depends on the processor’s actual power use, ambient temperature, case airflow and noise target. Confirm cooler compatibility, then assess temperature and noise under your own workload.
What if the new PC has no picture?
Check monitor input, display connection, required power leads and the board’s diagnostic indicators. Use our no-boot troubleshooting guide before buying replacement parts.
Sources and further reading
Consult the linked documentation for details and version-specific requirements. Hardware configurations in this guide are planning examples, not hands-on benchmark results.
Found something that needs updating? Send a correction with the page URL and a supporting source. Read our editorial policy.