
PC Airflow and Cooling: A Practical Setup Guide
Plan case airflow, choose fan direction, set useful fan curves and diagnose a hot or noisy PC with a repeatable temperature check.
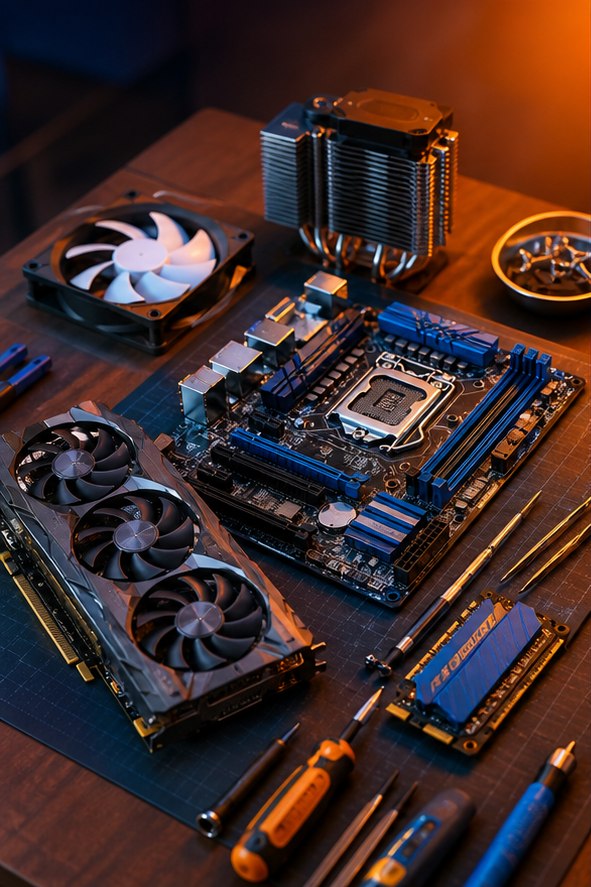
Good PC cooling gives heat a clear path out of the case. More fans are not automatically better: fan direction, obstructions, cooler installation and room temperature all affect the result. Start with a simple layout, then measure the same workload before and after each adjustment.
Plan a clear intake-to-exhaust path
For a conventional tower, filtered front intake and rear exhaust are a useful starting layout. Depending on the case and cooler, bottom intake or top exhaust can also help. Follow the case and cooler makers’ recommendations; compact, inverted and dual-chamber cases may need a different arrangement. The diagram here is a simplified example, not a required fan count.
Read airflow arrows on the fan housing or check its manual. Appearance is not a reliable universal rule because reverse-blade fans exist. Position fans so fresh air can reach the graphics card and CPU cooler without an unnecessary obstruction. Leave space behind the case and avoid trapping it in a closed cabinet.
Use filtered intake and sensible fan control
Intake and exhaust airflow depend on the fans’ speed, filters and restrictions, not just their number. A modest intake bias can encourage incoming air to pass through filters instead of gaps. That is a starting point to test, not a promise of a dust-free case. Clean filters regularly and check that they are not pressed against a solid surface.
Connect fans to the correct headers or a compatible powered hub. Do not exceed the motherboard header’s current rating. Select PWM or DC control to match the fan and header capabilities. A splitter may report the speed of only one connected fan, so verify visually that all attached fans run without a cable touching their blades.
Build a fan curve around real use
Use the motherboard firmware or an appropriate manufacturer utility. Start with its standard profile and listen during idle, a normal workload and a sustained heavy task. If fans repeatedly surge for brief temperature spikes, a supported response delay or smoother curve may reduce the noise. Keep enough cooling response for sustained load.
Check which sensor controls each fan. A case fan tied only to CPU temperature may not respond much during a GPU-heavy task. If your controller supports a suitable alternative sensor, test it carefully. Follow liquid-cooler instructions for pump control; do not assume the pump should follow the same curve as a case fan.
Compare temperatures fairly
Record room temperature, the workload, fan settings and the CPU and GPU temperatures after the system reaches a steady state. Repeat the same workload after changing one thing. Compare against the component manufacturer’s operating guidance rather than a universal internet “safe temperature.” Different components have different temperature targets and reporting methods.
A brief high reading is different from sustained thermal throttling. Watch whether clock speeds or performance fall during a repeatable task. If opening the side panel substantially improves the same test, inspect case airflow and obstructions. Keep the panel closed for your final evaluation because that is how the computer will normally operate.
Fix the cause of excessive heat or noise
Shut down, switch off and unplug the PC before working inside. Inspect blocked filters, dusty heatsinks, stalled fans and cables touching blades. Hold fans still during cleaning and follow the component maker’s cleaning guidance; do not let compressed air spin them rapidly. Avoid household vacuum contact with circuit boards.
If a newly assembled CPU heats rapidly or shuts down, inspect the cooler mounting, contact-surface protective film, thermal compound and fan or pump connection. Do not keep stress testing a machine that is repeatedly shutting itself down. For grinding or rattling, identify the source at a safe distance rather than stopping a spinning fan with a finger. Replace a failing fan with a compatible model.
Keep a small maintenance note: date, observed symptom, change made and result. This makes it easier to tell a dusty filter from a seasonal increase in room temperature. If you are still planning the machine, use our parts compatibility checklist before buying a larger cooler.
References and further reading
Use these manufacturer resources alongside the manuals for your specific parts. This is an educational guide, not a hands-on product review or benchmark.
Spotted an error? Send a correction with the page link and your hardware model. Read our editorial policy.